
Recent Post

Medieval sword display guide for collectors in 2026

Historical sword replicas: compare 4 types, 1.1-1.8 kg

Why choose movie replica swords? 40% more display appeal

How to Choose Cosplay Swords: 40% Safer & Comfortable

Why Collect Movie Swords? 70% Favor Story-Driven Replicas

Top 5 Trueswords.com Alternatives 2026
Leave a comment
Medieval sword display guide for collectors in 2026
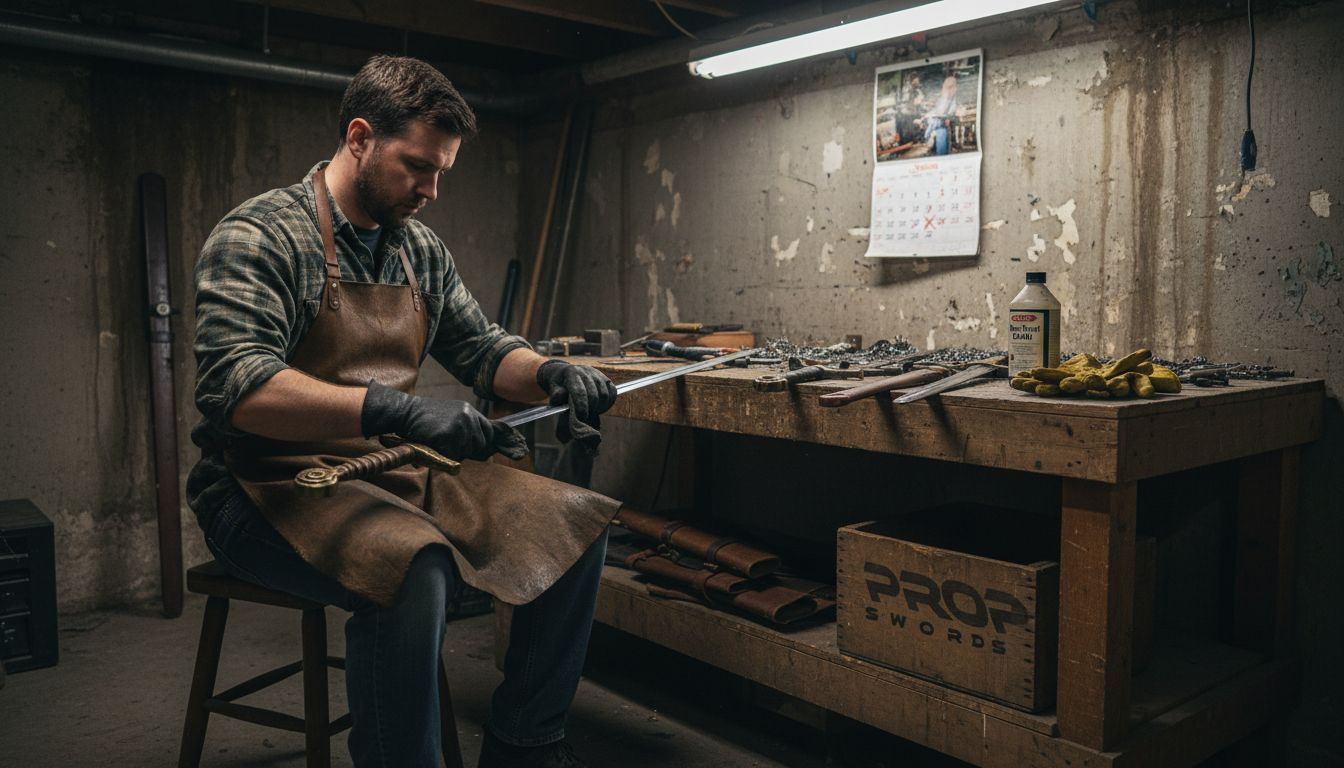
You’ve invested in stunning medieval replica swords, but displaying them safely while preserving their condition feels overwhelming. Improper mounting risks damaging your collection or creating safety hazards. This guide walks you through selecting display methods, installation steps, and maintenance practices that protect your investment while creating eye-catching presentations for your home or cosplay events.
Table of Contents
- Prerequisites And Tools You Need Before Displaying
- Choosing The Right Display Method For Medieval Swords
- Preservation, Maintenance, And Safety Considerations
- Step-By-Step Display Installation Process
- Expected Results And Troubleshooting Tips
- Explore Premium Medieval Replica Swords And Display Solutions
- Frequently Asked Questions About Medieval Sword Display
Key takeaways
| Point | Details |
|---|---|
| Display methods vary by space and purpose | Wall mounts save space, freestanding racks offer flexibility, glass cases provide protection. |
| Proper tools prevent mounting failures | Stud finders, rated wall anchors, levels, and appropriate hardware ensure secure installations. |
| Routine maintenance extends sword lifespan | Regular oiling, inspection, and cleaning prevent rust and preserve blade condition. |
| Safety precautions protect people and swords | Secure mounting, strategic placement, and regular checks prevent accidents and damage. |
| Installation follows systematic steps | Planning location, finding studs, precise measuring, and careful mounting create professional results. |
Prerequisites and tools you need before displaying
Gathering the right equipment and planning your display location sets you up for success. You’ll need several essential tools to create a secure, professional-looking sword display.
Essential tools and materials:
- Stud finder for locating wall support beams
- Power drill with appropriate bits for your wall type
- Level for ensuring straight, balanced alignment
- Wall anchors rated for your sword’s weight
- Protective gloves to handle blades safely
- Soft microfiber cloths for cleaning
- Sword maintenance oil for preservation
- Measuring tape for precise placement
- Pencil for marking drill points
Location planning deserves careful consideration before you drill any holes. Choose areas with low humidity, stable temperatures, and minimal direct sunlight exposure. Avoid bathrooms, kitchens, or exterior walls where moisture accumulates. Position displays away from high-traffic zones where people might bump into them accidentally.
Using the correct wall anchors rated for your sword’s weight is critical to prevent falls and damage. Hollow wall anchors work for lightweight decorative pieces, but heavier medieval replicas require mounting directly into studs or using toggle bolts rated for 50+ pounds.
| Sword Weight | Recommended Anchor Type | Load Capacity |
|---|---|---|
| Under 3 lbs | Plastic wall anchors | 10-15 lbs |
| 3-8 lbs | Metal toggle bolts | 30-50 lbs |
| Over 8 lbs | Stud mounting | 80+ lbs |
Pro Tip: Test your wall anchors with weights before mounting swords. Hang a bag filled with books matching your sword’s weight for 24 hours to verify the installation holds securely.
Measure your swords before purchasing mounting hardware. Medieval replicas typically range from 30 to 48 inches in length, requiring specific mount spacing. Record each sword’s length, weight, and balance point to match appropriate display hardware.
Choosing the right display method for medieval swords
Selecting the optimal display method depends on your available space, collection size, and whether you need quick access for cosplay events. Each option offers distinct advantages for different collector needs.
Wall mounts provide the most space-efficient solution for showcasing medieval replicas. Single horizontal mounts work beautifully for statement pieces, while multi-tier arrangements accommodate growing collections. These require strong anchoring but create dramatic visual impact. The primary drawback involves permanent wall modifications and limited repositioning flexibility.
Freestanding sword racks offer maximum versatility for collectors who rearrange displays frequently or rent their living space. Floor stands accommodate multiple swords without wall damage and provide easy access for maintenance or cosplay prep. However, they consume floor space and pose tipping risks without proper weighting or wall anchoring.
Glass display cases deliver superior protection from dust, humidity, and accidental contact. Museum-style cases work exceptionally well for valuable pieces or homes with children and pets. Ensure cases include ventilation holes to prevent moisture buildup that accelerates corrosion. The main limitation involves higher costs and reduced accessibility for handling.
| Display Method | Space Efficiency | Security Level | Accessibility | Cost Range |
|---|---|---|---|---|
| Wall mounts | High | Very High | Medium | $15-60 per mount |
| Freestanding racks | Medium | Medium | High | $40-200 |
| Glass cases | Low | Very High | Low | $150-500+ |
| Combination systems | Medium | High | Medium | $100-300 |
LED backlighting can highlight sword details without heat damage, enhancing display ambiance. Install battery-operated LED strips behind wall-mounted swords or inside display cases to create dramatic shadows that emphasize blade geometry and hilt details. Avoid incandescent bulbs that generate excessive heat.
Pro Tip: For cosplay enthusiasts needing quick access, choose wall mounts with easy-release mechanisms or dedicated sections in freestanding racks positioned near your costume storage area.
Combination approaches work best for serious collectors. Mount your most prized pieces on walls as focal points, use freestanding racks for frequently handled cosplay swords, and reserve glass cases for historically significant or delicate replicas. This tiered strategy balances aesthetics, accessibility, and preservation needs. Review the replica sword display guide for additional arrangement ideas.
Preservation, maintenance, and safety considerations
Maintaining your displayed medieval swords preserves their appearance and structural integrity for years. Neglecting routine care leads to rust, dulled finishes, and potential safety issues.
Applying oil to carbon steel swords every 3-6 months and controlling indoor humidity below 60% prevents rust and deterioration. Use mineral oil or specialized sword care products, applying thin coats with lint-free cloths. Wipe excess oil to prevent dust accumulation.
Monthly maintenance checklist:
- Inspect mounts for loosening or shifting
- Check blades for early rust spots or discoloration
- Dust display surfaces with microfiber cloths
- Verify wall anchors remain flush and secure
- Test mount weight capacity by gently lifting
Quarterly deep maintenance:
- Remove swords from displays carefully
- Clean blades with appropriate metal polish
- Apply fresh protective oil coating
- Inspect hilts and pommels for loose components
- Check display hardware for wear or corrosion
- Tighten all mounting screws and brackets
- Replace any compromised anchors immediately
Safety extends beyond secure mounting. Position displays at heights where children cannot reach them easily. Place swords with blunted edges outward to minimize injury risks if someone brushes against them. Avoid hanging displays above seating areas, beds, or workspaces where falling swords could cause serious harm.
“Swords displayed in high-traffic areas experience 3x more accidental contact incidents. Position collections in dedicated spaces away from doorways, hallways, and play areas.”
Pro Tip: Install small earthquake putty pads between swords and wall mounts in seismically active regions. This inexpensive addition prevents vibration-induced shifts without permanent modifications.
Test mounted displays monthly by applying gentle upward pressure to simulate accidental bumps. If any movement occurs, immediately remove the sword and reinforce the mounting system. Never ignore loose installations, as progressive weakening leads to sudden failures.
For homes with pets, consider enclosed displays or elevated mounting positions above jumping height. Curious cats have knocked down improperly secured swords, causing blade damage and potential injury. Review cosplay sword selection safety tips for additional handling guidance.
Step-by-step display installation process
Following a systematic installation process ensures your medieval swords hang securely and look professionally displayed. Rushing through setup increases error rates and safety risks.
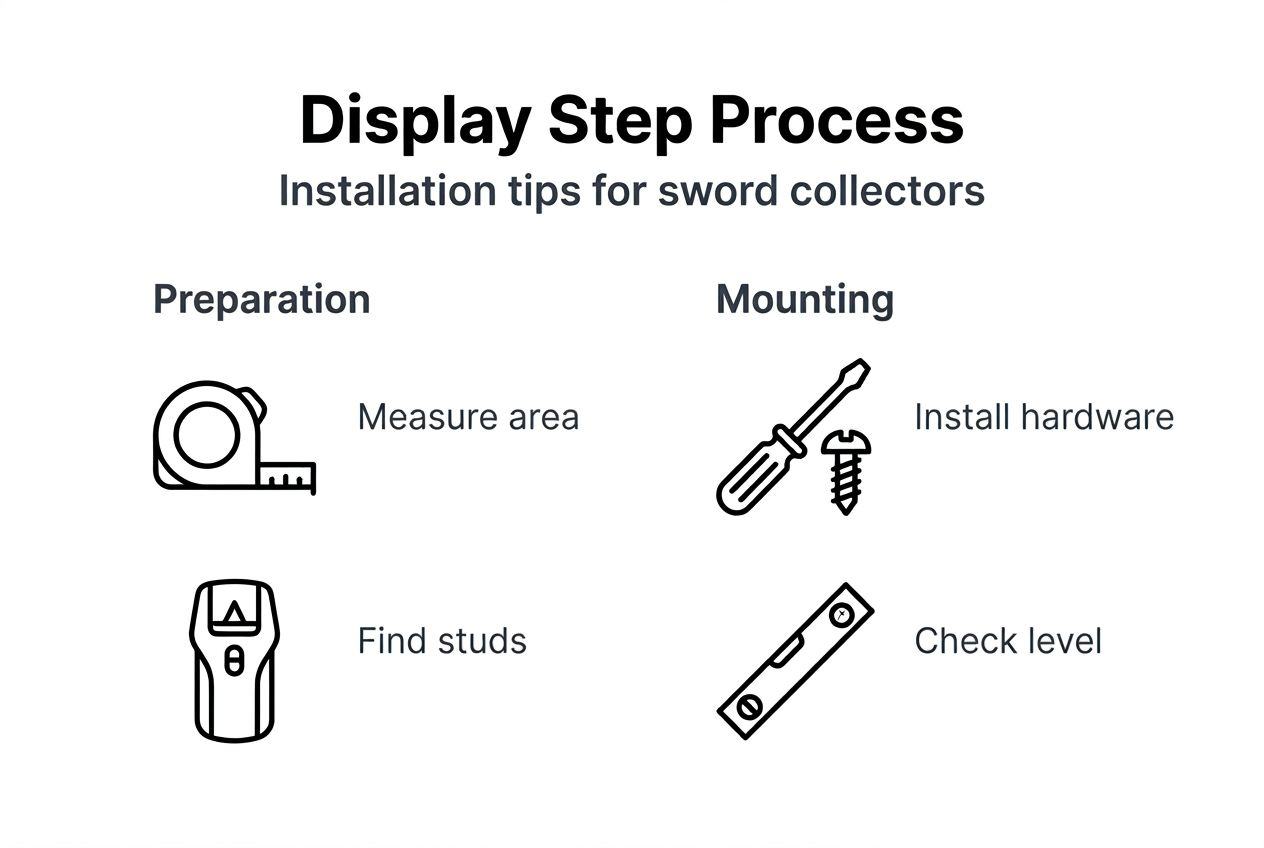
Installation workflow:
-
Select and prepare your location. Measure the wall space, ensuring adequate clearance around each sword. Mark the desired height, typically 5-6 feet from the floor for optimal viewing.
-
Locate wall studs accurately. Use a stud finder to identify support beams. Mark stud locations with light pencil marks. For displays between studs, prepare appropriate toggle bolts or wall anchors.
-
Measure and mark mounting points. Hold your sword against the wall at the desired height. Mark the balance point and any secondary support positions. Use a level to ensure horizontal alignment.
-
Drill pilot holes carefully. Select drill bits matching your anchor size. Drill straight into marked points, avoiding angled entry that weakens anchor grip.
-
Install mounting hardware securely. Insert wall anchors or screws into studs, leaving slight gaps for mount brackets. Attach mounting brackets and tighten fully.
-
Position swords on mounts. Lift swords carefully, supporting both ends. Place them gently onto mounting brackets, ensuring secure seating in all retention points.
-
Arrange collection aesthetically. For multiple swords, vary heights slightly or arrange by size progression. Maintain consistent spacing between pieces.
-
Add supplementary lighting. Install LED strips or directional spotlights to highlight blade details. Position lights to minimize glare while emphasizing sword features.
| Installation Phase | Time Required | Common Mistakes to Avoid |
|---|---|---|
| Planning and measuring | 15-30 minutes | Skipping level checks, improper spacing |
| Stud location | 10-15 minutes | Relying on wall tapping instead of stud finders |
| Drilling and mounting | 20-40 minutes | Using undersized anchors, over-tightening |
| Sword placement | 10-20 minutes | Forcing misaligned swords, uneven weight distribution |
Accurate measurement, stud location, and level checking are critical steps to prevent sword warping and ensure secure mounts. Even small misalignments create uneven stress on blades over time.
Pro Tip: Create a cardboard template matching your sword’s dimensions before drilling. This allows you to visualize the final arrangement and adjust positioning without marking walls repeatedly.
For multi-sword displays, install the centerpiece first, then work outward symmetrically. This approach maintains balanced visual weight and simplifies spacing calculations. Stand back periodically to assess the overall composition from viewing distance.
Document your installation with photos showing mounting hardware and measurements. This reference helps if you need to replicate the setup elsewhere or troubleshoot issues later. Store extra anchors and mounting screws in labeled bags for future adjustments.
Expected results and troubleshooting tips
Properly installed medieval sword displays create stunning focal points that remain secure for years with minimal intervention. Understanding realistic outcomes helps you recognize when adjustments are needed.
Successful displays exhibit level alignment, balanced visual composition, and zero movement when gently tested. Swords should lift easily from mounts for maintenance without requiring excessive force. Well-maintained blades show no rust spots, retain their original finish, and display consistent sheen.
Common issues and solutions:
- Loose mounts: Tighten mounting screws quarterly. If anchors spin freely, remove them and install larger anchors or relocate to studs.
- Rust development: Increase oiling frequency and check room humidity. Use dehumidifiers in damp climates.
- Uneven alignment: Remeasure mount positions with a level. Adjust brackets incrementally until swords hang straight.
- Dust accumulation: Establish weekly dusting routines using dry microfiber cloths. Avoid wet cleaning that introduces moisture.
- Fading or discoloration: Relocate displays away from direct sunlight. UV exposure degrades finishes and handle materials over time.
Regular maintenance prevents up to 40% of premature sword damage cases, and fixing loose mounts promptly avoids accidents. Schedule maintenance sessions during seasonal changes when temperature and humidity fluctuations stress mounting systems most.
Maintenance schedule framework:
- Weekly: Visual inspection and light dusting
- Monthly: Mount security testing and blade condition checks
- Quarterly: Deep cleaning, oiling, and hardware tightening
- Annually: Complete display assessment and potential repositioning
Pro Tip: Keep a maintenance log noting inspection dates, issues found, and repairs completed. This record reveals patterns like recurring loosening in specific locations that may require permanent mounting upgrades.
If displays show persistent problems despite proper installation and maintenance, evaluate environmental factors. Excessive humidity, temperature swings, or vibration from nearby appliances can compromise even well-executed setups. Consider relocating problematic displays to more stable environments.
For troubleshooting mounting failures, never attempt quick fixes with inadequate hardware. Remove the sword completely, assess wall condition, and reinstall using appropriate anchors. Temporary solutions often fail catastrophically, risking damage to valuable pieces.
Explore premium medieval replica swords and display solutions
Now that you understand proper display techniques, explore authentic medieval replica swords crafted specifically for collectors and cosplayers. Propswords offers expertly designed pieces combining historical accuracy with display-ready construction.

Discover collections featuring Viking longswords, crusader blades, and fantasy-inspired medieval weapons. Each piece arrives ready for immediate display with care instructions tailored to preserve finish quality. Browse curated accessories including premium mounting hardware, maintenance kits, and display stands engineered for secure, attractive presentations. Shop with confidence knowing every sword balances authentic design with practical display considerations.
Frequently asked questions about medieval sword display
What is the safest way to mount a heavy medieval sword on drywall?
Locate wall studs using a stud finder and mount directly into them using 3-inch wood screws rated for 80+ pounds. If studs aren’t positioned correctly, use heavy-duty toggle bolts rated for at least twice your sword’s weight, distributing load across multiple anchor points.
How often should carbon steel swords be oiled when displayed?
Apply protective oil every 3-6 months in climate-controlled environments with humidity below 60%. Increase frequency to monthly in humid climates or coastal areas where moisture accelerates corrosion. Always clean blades before oiling to prevent trapping contaminants.
Can LED lighting cause damage to sword blades?
LED lights generate minimal heat and pose no damage risk to metal blades or leather-wrapped handles. Avoid incandescent or halogen bulbs that produce excessive heat, potentially warping wooden components or degrading adhesives in hilt construction over extended exposure.
What is the best display method for cosplay quick access?
Freestanding racks with open slots provide fastest access for cosplay preparation while maintaining secure storage between events. Position racks near costume storage areas and choose models with padded cradles preventing blade scratches during rapid retrieval.
How do I prevent sword displays from attracting dust and moisture?
Establish weekly dusting routines using dry microfiber cloths and maintain indoor humidity between 40-50% using dehumidifiers if necessary. For ultimate protection, use ventilated glass cases that block dust while allowing air circulation preventing moisture buildup.